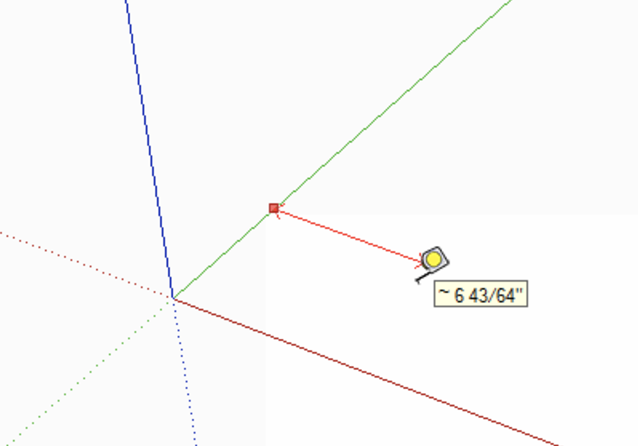
Locking a tape measure to a specific axis in SketchUp helps ensure precision when creating guides or measuring distances. Here’s how to do it:
1. Activate the Tape Measure Tool
- Select the Tape Measure tool from the Toolbar or press the shortcut key
T.
2. Lock to an Axis

- Once you activate the Tape Measure tool, you can lock movement to a specific axis using the arrow keys on your keyboard:
- Up Arrow: Locks movement along the blue (vertical) axis.
- Left Arrow: Locks movement along the green (horizontal) axis.
- Right Arrow: Locks movement along the red (horizontal) axis.
3. Confirm the Axis Lock
- After pressing the appropriate arrow key, you’ll see the guide or measurement line constrained to the specified axis. The line will also change color to match the axis:
- Blue for vertical.
- Green for horizontal (green axis).
- Red for horizontal (red axis).

4. Place the Guide or Measure
- Click at the starting point and move the mouse along the locked axis to define the direction and distance.
- Type a specific value (e.g.,
5'for 5 feet) and pressEnterto create a guide or record the measurement.
5. Unlock the Axis (Optional)
- To unlock the axis, simply press the same arrow key again, or move your mouse freely.
By locking the tape measure to an axis, you maintain accuracy and ensure your guides align perfectly with your design intent.


