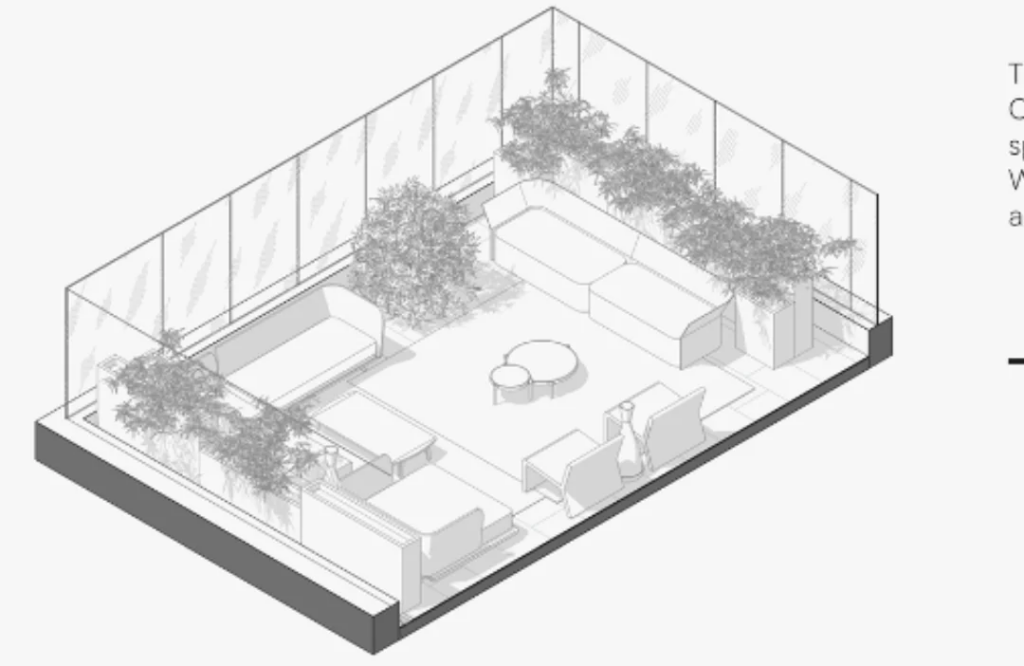
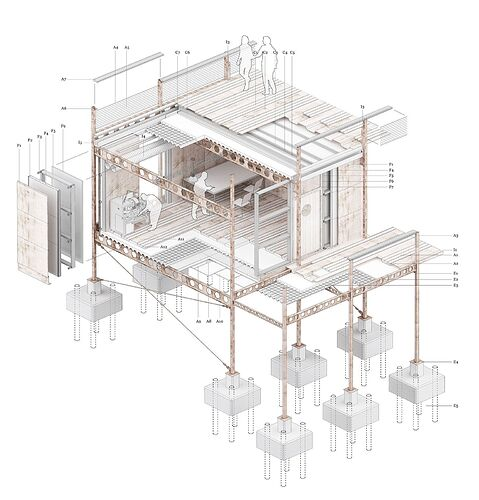
Axonometric drawings, also known as isometric or parallel projections, are widely used in architecture and engineering to represent 3D objects in 2D without perspective distortion. SketchUp makes it easy to create these types of drawings using its built-in tools. Here’s a step-by-step guide on how to create an axonometric drawing in SketchUp.
Step 1: Set Up Your 3D Model
Before you begin, ensure that your model is fully built and detailed. If you’re starting from scratch, you can create a simple object or import an existing one.
- Open SketchUp and load your 3D model or create a new one.
- Make sure all geometry is complete and organized, preferably using groups or components to keep your model manageable.
Step 2: Switch to Parallel Projection
Axonometric drawings require the camera to have no perspective. SketchUp’s default view is set to perspective mode, so you’ll need to change this.
- Go to the Camera menu at the top of the screen.
- Select Parallel Projection. This setting removes the vanishing points, giving your model the correct projection style for an axonometric view.
Step 3: Choose an Axonometric View Angle
SketchUp has preset views that can help you quickly achieve an axonometric-like view.
- Open the Camera menu again and select Standard Views.
- Choose from Top, Front, Right, or Left views depending on the desired orientation. For a standard axonometric view, you can manually set up an isometric view (see next step).
Step 4: Adjust the View for Axonometric Perspective
To achieve the perfect axonometric view, manually adjust the camera’s angle to match the traditional 30°, 30° axonometric drawing.
- Switch to the Orbit Tool (shortcut:
O) to freely rotate your view. - Adjust the view manually by rotating to a 30° angle along the x- and y-axes. This can be challenging, but you can use the Protractor Tool for more precise alignment.Alternatively, you can use an Isometric View Plugin or exact angle scripts, if available, to automatically adjust to axonometric angles.
Step 5: Export Your Drawing
Once you’ve set your view, it’s time to export the axonometric drawing.
- Go to File and select Export.
- Choose 2D Graphic from the dropdown.
- In the export settings, you can choose the file format (e.g., PNG, JPG, or PDF) and adjust the resolution to suit your needs.
Step 6: Add Line Weights and Styles (Optional)
To enhance your axonometric drawing, you can apply line weights or sketchy styles.
- Open the Styles panel from the Default Tray.
- Select a pre-set style that matches your drawing’s aesthetic (e.g., sketchy lines, dashed lines).
- You can also use the Line Weight tool in SketchUp to emphasize certain edges or contours in your drawing.
Conclusion
Creating an axonometric drawing in SketchUp is a straightforward process with the help of parallel projection and careful view adjustments. Whether you’re working on architectural designs, mechanical drawings, or visualizations, axonometric views can provide a clear, distortion-free representation of your models. With a few adjustments to camera settings and export options, you’ll have a clean and professional axonometric drawing ready for presentations or further development!
Feel free to reach out if you need more advanced tips or troubleshooting advice!