Creating Webtoon backgrounds with SketchUp can give your comic a professional look, save time, and help maintain consistency across panels. Here’s a guide to help you harness the power of SketchUp in your Webtoon background design.
1. Setting Up SketchUp for Webtoon Backgrounds
First, you’ll need to download SketchUp. While there’s a paid version, SketchUp Free provides all the tools needed for creating Webtoon backgrounds.
- Download SketchUp Free: Get started with SketchUp Free
Once you have SketchUp installed, you’re ready to start designing your backgrounds.
2. Learn the Basics of SketchUp
Before diving into creating complex scenes, it’s essential to understand the basics of SketchUp, including navigation, tools, and rendering options. Check out the following resources:
- SketchUp Fundamentals (YouTube tutorial): A complete beginner’s guide to SketchUp, covering essential tools and interface basics.
- SketchUp Campus: SketchUp’s official learning hub with free courses on beginner and advanced topics.
3. Plan Your Background Layout and Perspective
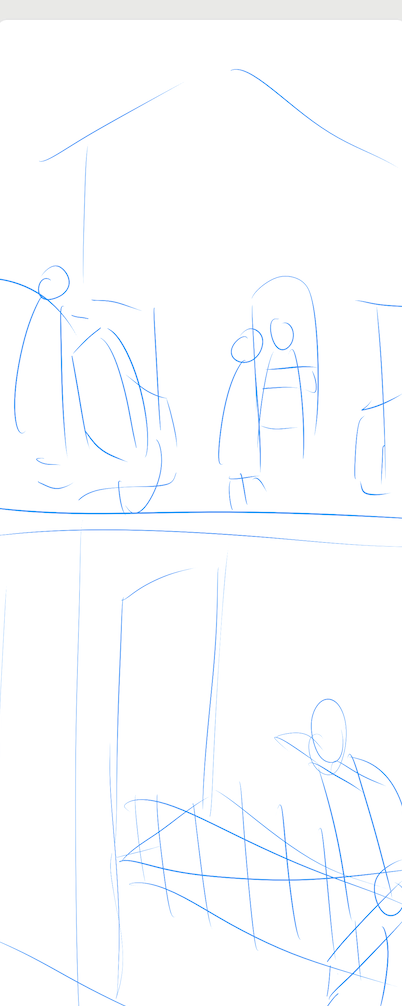
SketchUp offers powerful tools to help you achieve accurate perspectives for your backgrounds, an essential part of Webtoon storytelling. Decide on the type of scene you want to create (e.g., urban, rural, indoor) and sketch a rough layout for reference. Think about the angles and perspectives you’ll need for different panels. For example, an overhead perspective might work for an establishing shot, while a low angle might emphasize height in cityscape scenes.
Some tips to consider:
- Use the Top View or Side View options in SketchUp to plan layouts accurately.
- Play with Camera Positioning to get dynamic shots for panels, such as close-ups or wide views.
4. Start Modeling the Scene
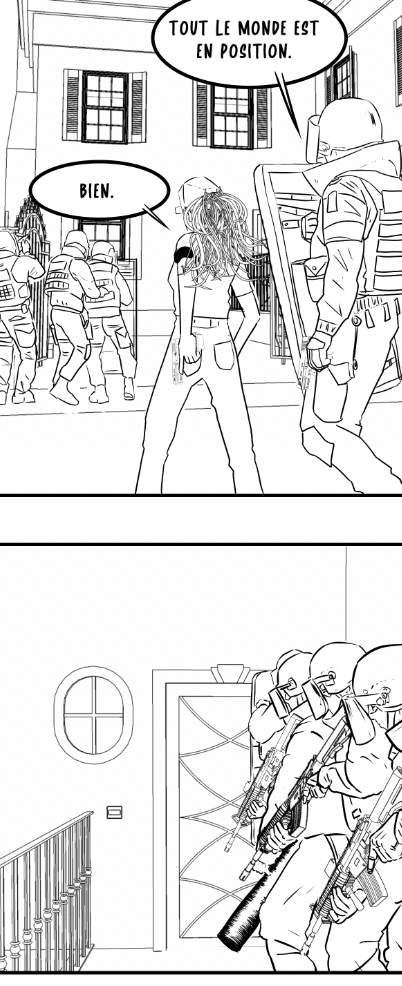
SketchUp provides various tools to make modeling efficient. Begin with basic shapes to construct walls, buildings, furniture, or any essential structures in your scene. Start simple and add details gradually.
For more complex structures, try using SketchUp’s 3D Warehouse, a built-in library of pre-made 3D models.
- Explore 3D Warehouse for Models: Access SketchUp’s 3D Warehouse
In the 3D Warehouse, you’ll find everything from furniture to detailed buildings. You can download these models and modify them to suit your comic’s style, saving significant time on background creation.
5. Add Details and Textures
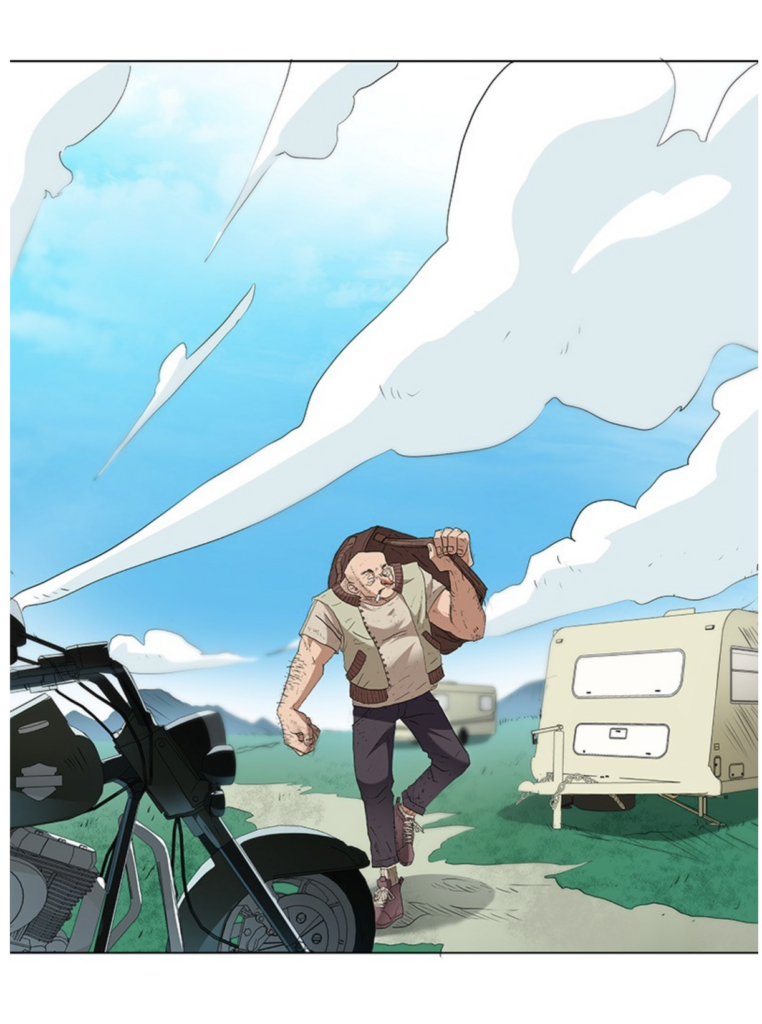
Textures and details make your scene more realistic and engaging. SketchUp lets you apply textures to your models, whether it’s brick walls, wood floors, or grassy landscapes. Use the Materials Panel to access default textures, or try importing your own images as textures for a custom look.
For realistic textures:
- SketchUp Texture Club: This free resource offers high-quality textures like concrete, metal, and wood.
- CC0 Textures: Another excellent source for royalty-free textures that you can use without copyright restrictions.
6. Set Lighting for Mood
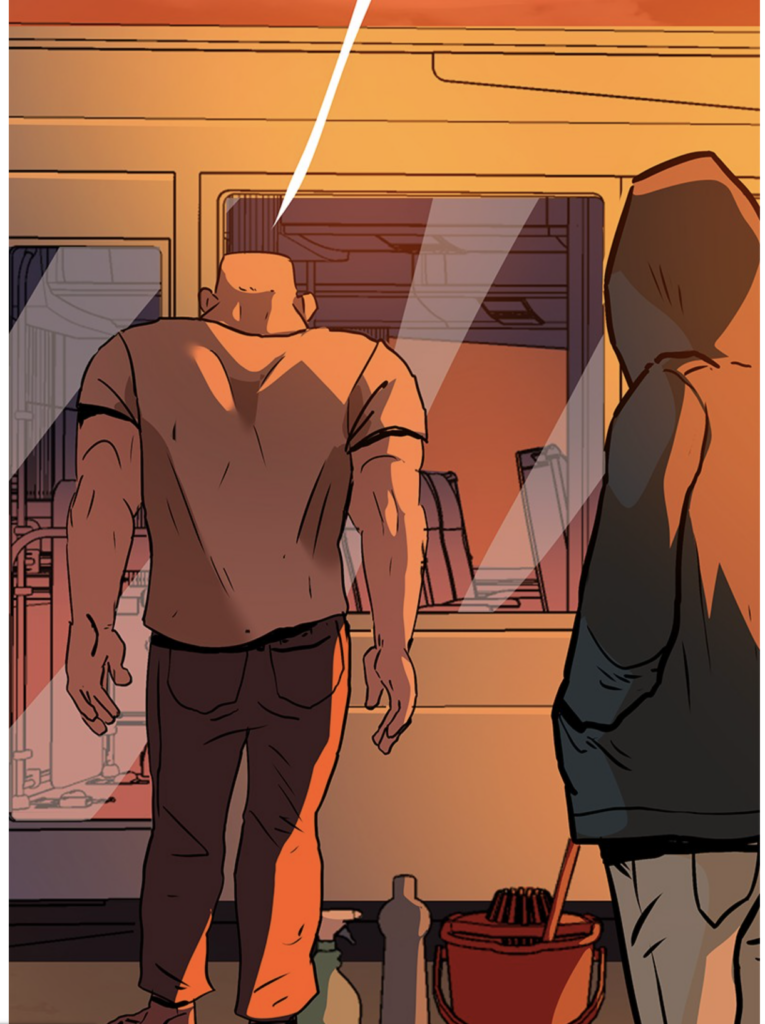
Lighting in SketchUp can make a significant difference in the mood of your scene. Play with sun shadows and adjust the time of day within the program to create natural lighting effects. For Webtoon artists, shadows and lighting can be adjusted to align with your color palette and the tone of the scene.
For more control over lighting and shadows:
- Twilight Render Plugin: This plugin allows you to apply advanced lighting, making it ideal for Webtoon artists aiming for realistic or dramatic backgrounds.
7. Export Your SketchUp Scene
Once you’re happy with your SketchUp background, it’s time to export the scene. Set the camera angle you need, and export the image in a high resolution. You can export as a PNG for tracing or coloring in software like Clip Studio Paint or Photoshop.
To export:
- Go to File > Export > 2D Graphic, and select your preferred resolution and format.
8. Refine in Digital Art Software
After exporting, import your SketchUp background into your drawing software. Here, you can refine details, add color adjustments, or overlay textures that weren’t available in SketchUp. Many Webtoon artists trace over their 3D backgrounds and add more stylized elements to make the scene blend seamlessly with characters.
Some recommended software for finalizing backgrounds:
- Clip Studio Paint: Popular among Webtoon artists for its versatility and brush options.
- Adobe Photoshop: Great for adding finishing touches, lighting effects, and texture overlays.
Additional Tips for Using SketchUp for Webtoons
- Optimize Model Size: Large models can slow down your computer. Delete unnecessary details and keep only what’s visible in the scene.
- Use Layers: Separate different parts of your scene (e.g., foreground, background, and middle ground) to make rendering and exporting easier.
- Experiment with Perspective: Don’t be afraid to experiment with unconventional perspectives to create dynamic and engaging panels.
Conclusion
Creating Webtoon backgrounds with SketchUp can streamline your workflow and add depth to your comic. By using resources like 3D Warehouse, texture sites, and digital art software, you’ll have all the tools you need to design captivating settings efficiently. Try combining 3D models with your unique artistic touch, and soon you’ll be creating stunning backgrounds that bring your Webtoon world to life.
For more SketchUp resources, check out:
- SketchUp’s Blog: Tips, updates, and tutorials for SketchUp users.
Happy background designing, and enjoy creating immersive worlds for your readers!