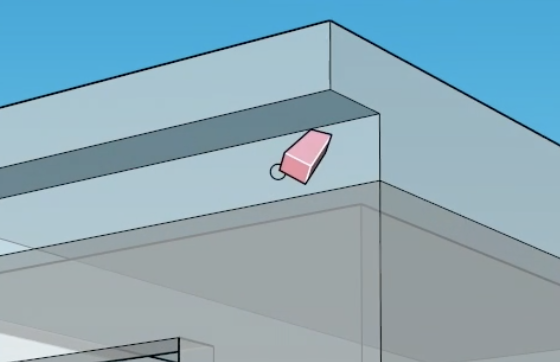
SketchUp is a powerful 3D modeling tool, but its default wireframe appearance can sometimes feel cluttered, especially when you’re looking to create a polished presentation or a smoother visual model. Those black geometry lines (edges) around every face can distract from the clean look you’re aiming for. Fortunately, SketchUp provides several ways to hide or soften these lines to give your model a more professional finish.
In this blog post, we’ll walk you through the different methods to hide or soften geometry lines in SketchUp.
Why Hide Geometry Lines?
Before we jump into the steps, here are a few reasons why you might want to hide geometry lines:
- Improved Aesthetic: Hiding lines creates a cleaner, more finished look for presentations or client reviews.
- Smoother Appearance: Removing hard edges helps in rendering smoother curves, making models look more realistic.
- Enhanced Focus: Eliminating lines draws attention to the overall model, instead of individual edges or details.
1. Using the Eraser Tool for Softening Edges

SketchUp has a built-in feature to smooth or soften edges while keeping the geometry intact. This is perfect for curved surfaces or objects where the edges make the model look overly segmented.
Steps:
- Activate the Eraser Tool: Press E on your keyboard or select the Eraser tool from the toolbar.
- Soften the Edges: Hold Ctrl (Windows) or Option (Mac) and drag over the edges you want to hide. This will “soften” the edges, making them less visible.
- Adjust Softening Levels: You can also right-click on the object, choose Soften/Smooth Edges, and adjust the slider to control the visibility of softened edges.
This is ideal for objects like spheres, cylinders, or any curved geometry.
2. Hiding Edges in the Style Settings
Another method involves adjusting the style settings in SketchUp, which controls how lines, faces, and shading appear in your model.
Steps:
- Open the Styles Window: Go to Window > Default Tray > Styles to access the styles menu.
- Edit the Style: Click on the Edit tab, then select the Edge Settings icon (represented by a cube).
- Uncheck “Edges”: Deselect the checkbox labeled “Edges” to hide all geometry lines in your model. You can also uncheck Profiles to hide profile edges (thicker boundary lines).
This will hide all edges in your model, which is perfect for when you want to present a clean, minimalist version of your design.
3. Using Tags/Layers to Control Visibility
If you need more granular control over which lines or components are visible, using Tags (formerly known as Layers) is a good option.
Steps:
- Assign Edges to Tags: Select the edges or objects you want to control, and assign them to different tags using the Tags panel.
- Turn Off Tag Visibility: In the Tags panel, you can toggle the visibility of each tag, effectively hiding the edges or components that belong to that tag.
This method is particularly useful if you’re working on a large model and need to control the visibility of specific groups or parts of the geometry.
4. Hiding Individual Edges
For a more manual approach, you can simply hide specific edges one at a time.
Steps:
- Select the Edge: Use the Select tool (or press Spacebar) to highlight the edge you want to hide.
- Right-Click and Hide: Right-click the selected edge and choose Hide from the context menu. This will make the edge invisible, but it will still be part of the geometry.
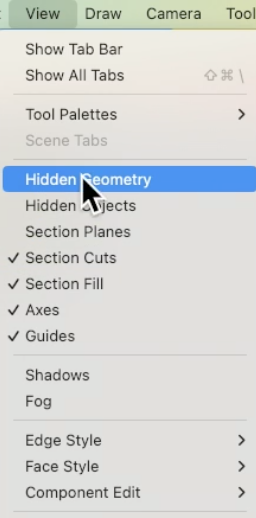
If you need to bring the hidden edges back, go to Edit > Unhide > All to restore everything you’ve hidden.

Best Practices for Hiding Geometry Lines
- Use Soften Edges for Curved Surfaces: Curved objects like spheres or cylinders can look more natural when their edges are softened.
- Toggle Between Styles: When working on different stages of your design, toggle between hidden edges and visible edges to ensure you’re maintaining the integrity of the geometry.
- Save Style Presets: If you frequently need to switch between different appearances, consider saving your style settings to quickly apply them later.
Conclusion
Hiding geometry lines in SketchUp is an easy way to enhance the visual quality of your models, especially for presentations or rendering purposes. By using tools like the Eraser for softening edges, style settings for bulk hiding, and tags for controlling visibility, you can ensure your model looks professional and polished.
Start experimenting with these techniques in your next SketchUp project and see the difference it makes!


